

AVAILABLE
Slip-Resistant-Backed Aluminum Ruler
A stable working edge for marking, scoring, and cutting.
From $2.95
Choose size →
TRADES RULE.
Tough measuring tools for every job.
A tape measure gives you the distance. A rigid working instrument gives you the line, square, center, angle, and repeatable reference that turn a measurement into finished work.
THE TOOL BEFORE THE TOOL · MEASURE · MARK · LAYOUT · CUT
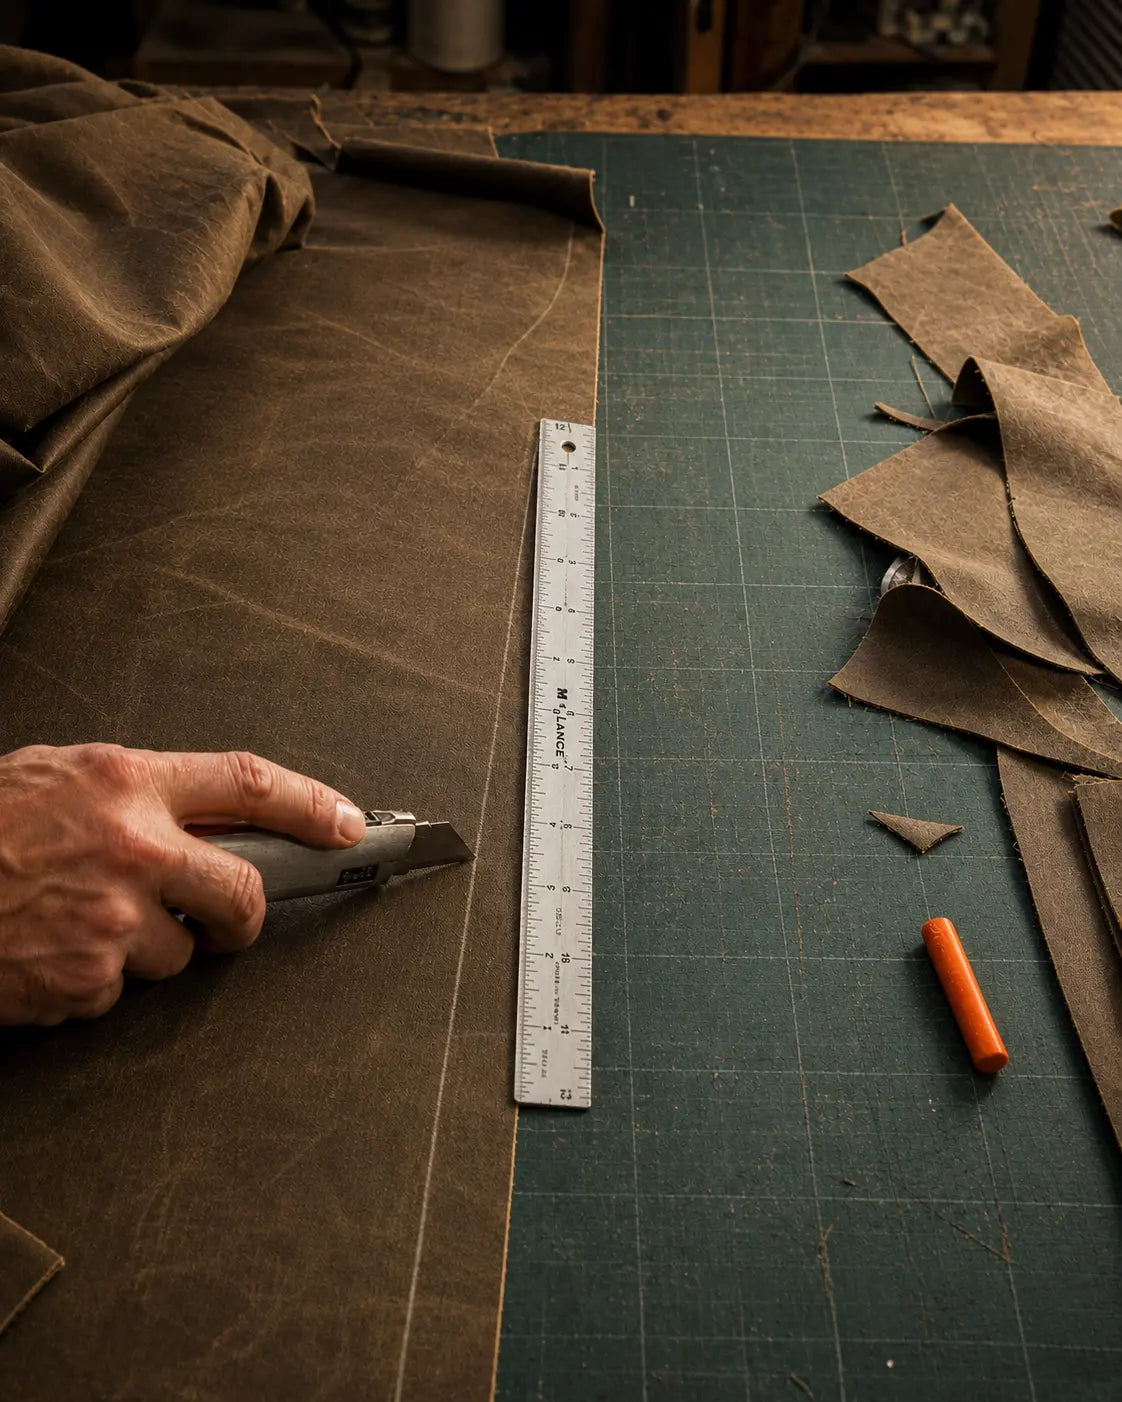
THE TOOL BEFORE THE TOOL
Working rulers do what a flexible tape cannot: stay on the surface, hold a true edge, carry a fixed angle, and give the pencil or blade something physical to follow.
Read the working span in inch, metric, or both.
Carry one readable reference across the material.
Transfer a fixed right angle from a working edge.
Locate the midpoint directly and repeat it.
Give the pencil, scorer, or blade a continuous edge.
TOUGH MEASURING TOOLS
AVAILABLE
A stable working edge for marking, scoring, and cutting.

AVAILABLE
A fixed right angle for corners, sheets, and transferred marks.

AVAILABLE
A long square reference for sheet goods and layout.

AVAILABLE
A direct centerline without dividing the measurement.

AVAILABLE
Inch and metric reference on one working instrument.

AVAILABLE
Known angles and repeatable geometry for layout.
TRADES RULE.
Twelve real jobs. Twelve reasons the measuring tool comes out before the working tool.
Mark bands, borders, repairs, and repeatable cut lines before the brush or roller touches the wall.
Use a backed straight edge → DRYWALLSquare a full-sheet cut and transfer outlet, opening, and course measurements to the face.
Use a T-square → TILEEstablish the room center, test the field, and keep cut conditions balanced at the edges.
Use a center rule → GROUTRead the spacing, catch drift across the run, and keep the visible grid consistent.
Use a dual-scale straight edge → BACKER BOARDTransfer the panel size, mark keep and waste, and guide a straight score across the board.
Use a backed straight edge → SHEET VINYLCarry square corners and long wall references into flooring before the final trim.
Use an L-square → CARPETMeasure irregular geometry and draw the intended finished line before the knife moves.
Use a backed straight edge → INSULATIONRepeat cavity lengths and hold a square crosscut reference across compressible material.
Use an L-square → WALLCOVERINGMark repeat positions, protect the final edge, and guide clean top, bottom, and seam cuts.
Use a backed straight edge → ROOFINGMeasure courses, overlaps, and cut lines before flexible sheet material reaches the roof.
Use a long straight edge → MASONRYRepeat course heights, opening positions, and story-pole marks from one reliable scale.
Use an inch/metric rule → BACKSPLASH & SINKLocate the midpoint, balance end conditions, and mark clean stops before tile or caulk.
Use a center-finding rule →NOT SURE WHICH ONE?
BUY THE TOOL. USE THE TOOL.
Order by 2:00 p.m. Eastern Time.
Return unused instruments within 30 days.
Coverage for the first 30 days.
TRADES RULE.
Measure the distance. Establish the line. Get the job done right.